
Are a web developer or designer. To create a test environment in your local machine you will need WAMP, MAMP or LAMP Stacks .
For Linux distributions we use LAMP Stacks. Let’s get our environment ready for Ubuntu 14.04 .
LMAP (Linux-Apache-MySQL-PHP) installation Process:
1. Open Terminal (Ctrl+Alt+T)
2. First thing we do is check for update and upgrade
sudo apt-get update && sudo apt-get upgrade
3. Tasksel is a tool in Ubuntu / Debian, which helps to install multiple related packages as a co-ordinated task.
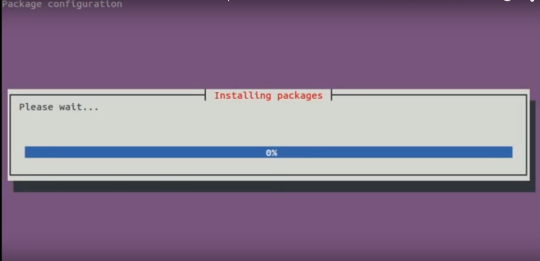
sudo apt-get install taskselsudo tasksel
A window will appear

Select Basic Ubuntu Server, OpenSSH Server, LAMP Server using SPACEBAR and then hit TAB and OK bar will be highlighted and now Hit SPACEBAR.
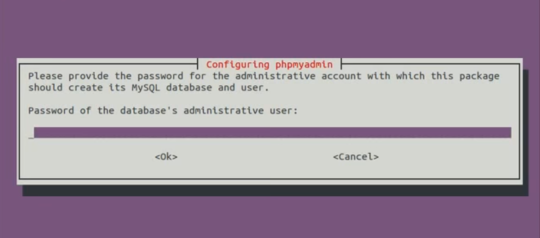
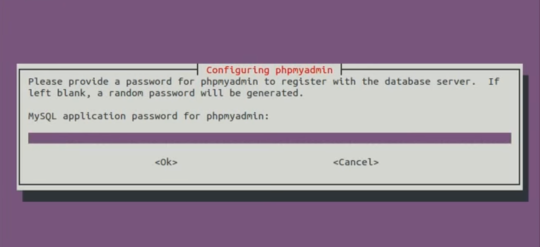
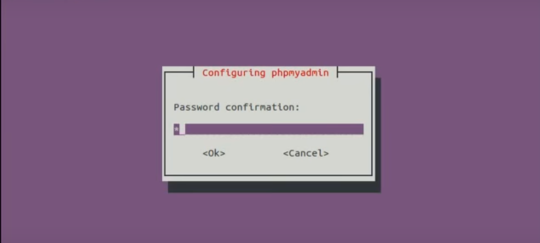
It will ask Password for Root, MySQL, samba, etc. give your preferred password there.
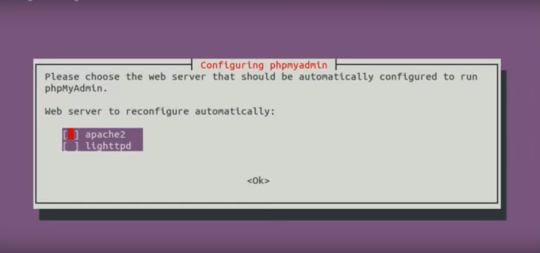
4. Now Install phpMyAdmin which is used for managing MySQL databases.
sudo apt-get install phpmyadmin
Press Y to continue and select apache2
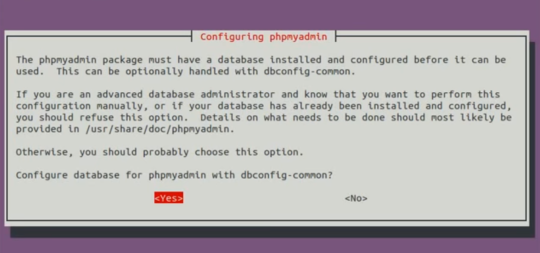
After a while it will ask for permission and another passwords. Press Spacebar to continue
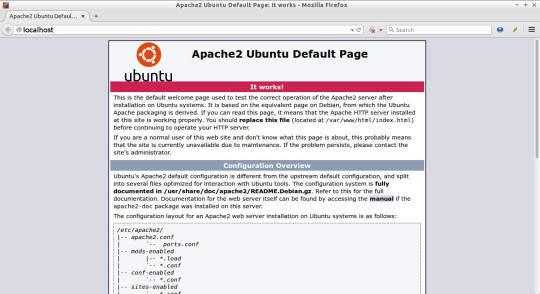
5. Go to your favorite browser and type localhost and you will see like this
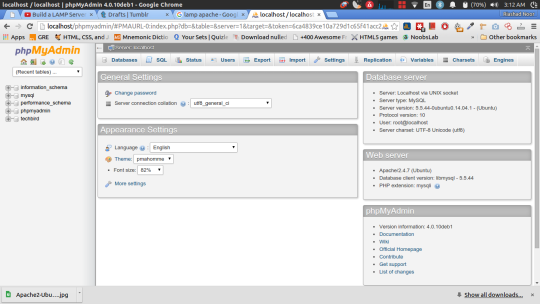
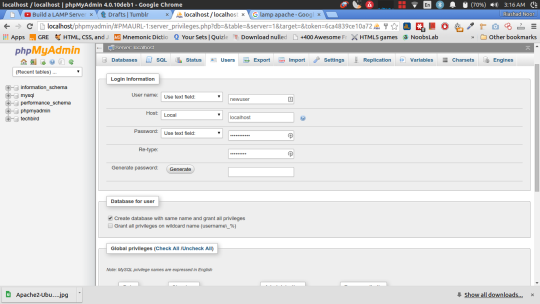
6. Type http://localhost/phpmyadmin/ to check if it’s functional or not . It will ask for username and password. give your previously saved username and password. and you will see something look like this.
Click Users form the tab and select Add user and create a new user with full Providences and do as like in the picture.
--> Check [Create a database with the same user ] and hit GO at the bottom
--> Check [Create a database with the same user ] and hit GO at the bottom
7. Lets install a FTP program named Very Secure ftp demon
sudo apt-get install vsftpd
8. Navigate to /var/www/html and there you will find index.html
cd /var/www/htmlls
9. Move index.html to any name like indexa.html and now refresh localhost in the browser you will able to see your project file and folders inside html directory
sudo mv index.html indexa.html
10. return to /var/www/ director and do the following
cd ..sudo chown -R yourusername:www-data /var/www/html/
and hit Enter
11. Now
cd /var/www/htmlls -al
and you will see like this

12. Get and the proper permissions : g+s (group+sticky )
sudo chmod 775 /var/www/htmlsudo chmod g+s /var/www/htmlumask
13. Umask are the permission assigned to 775. typpically umasks are 3 digit.
sudo vim /etc/vsftpd.conf
and edit some essentials . Press i . Now can edit
Remove comment (#) before write_enable=Yes
Remove comment (#) before local_umask and make local_umask=0002
Now you are done editing and type :wq! to save and quite the editor.
14. Restart vsftpd Services and install filezilla
sudo service vsftpd restartsudo apt-get install filezilla
Press Y and continue. So we have to ftp server one is client server and another one is for accepting your connections and permissions.
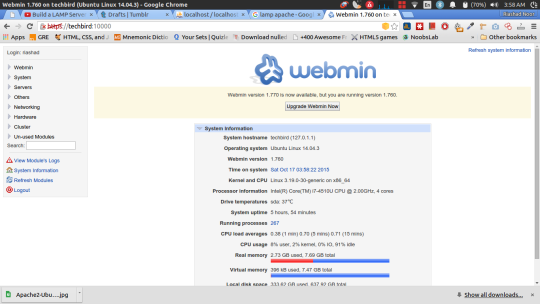
15. Now install Wibmin. it’s kind of like a free cPanel. Go to webmin and on the left side click Debian Package
and wet a moment to complete the download.
16. Install webmin
sudo dpkg -i ./webmin_1.770_all.deb
it will gonna brake and to solve that do the following
sudo apt-get -f upgrade
hit Y to let the process to continue and you will see your webmin location in the terminal with your machine name. here is mine
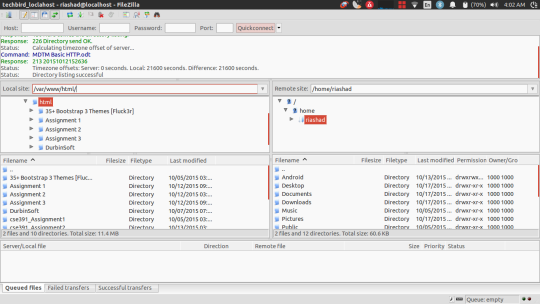
17. You can manually put your files in /var/www/html directory but i like the filezilla way. :) . Fire up Filezilla and add your host, username and password and you will see something like mine.
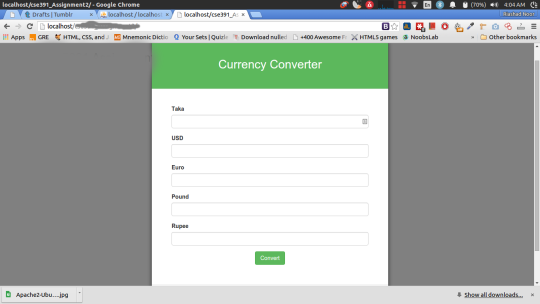
18 . Now go to localhost in you browser and open your project.
0 Komentar